technical guide
My step-by-step application
with expert advice from Nautix
1My surface to paint
- HULL
- PROPELLER OR Z-DRIVE BASES
- KEEL
- TOPSIDES
- DECK
- MAST
2My substrate
- POLYESTER
- ALUMINIUM
- WOOD
- STEEL
- CARBON
- ALUMINIUM / BRONZE
- CAST IRON
- LEAD
- COMPOSITE
- STEEL/STAINLESS STEEL
- POLYESTER
- ALUMINIUM
- WOOD
- STEEL
- POLYESTER
- ALUMINIUM
- WOOD
- STEEL
- ALUMINIUM
- WOOD | TOPCOAT
- WOOD | VARNISH
- CARBON
3My technology
- Step 1 | PreparationSD
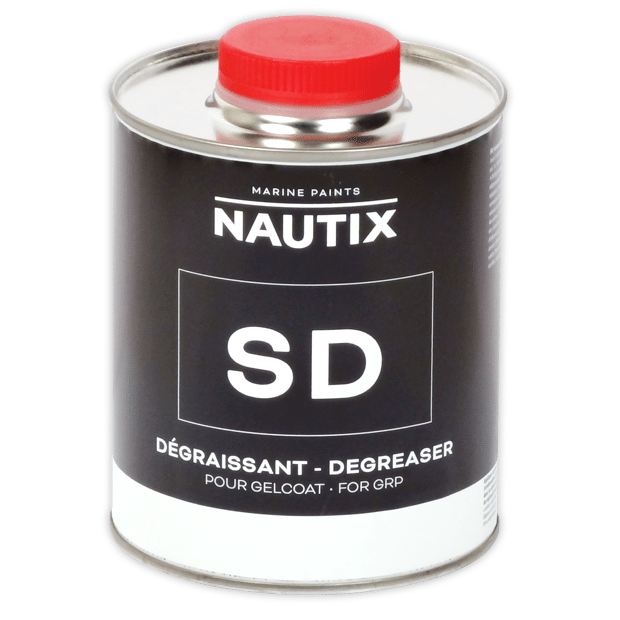
Wash the surface with water, then with SD Degreaser.
Remove old paint and roughen with P150
Rinse with fresh water and allow to dry thoroughly - Single-pack
- Two-pack
- Single-pack
- Two-pack
- Single-pack
- Two-pack
- Special Race
- Inflatable boats
- Osmosis
- Difficult weather conditions
- Single-pack
- Single-pack | SOLID WOOD
- Two-pack
- Two-pack | COUNTERPLATE
- Single-pack
- Two-pack
- Step 2 | ImpregnationIMPREGARD
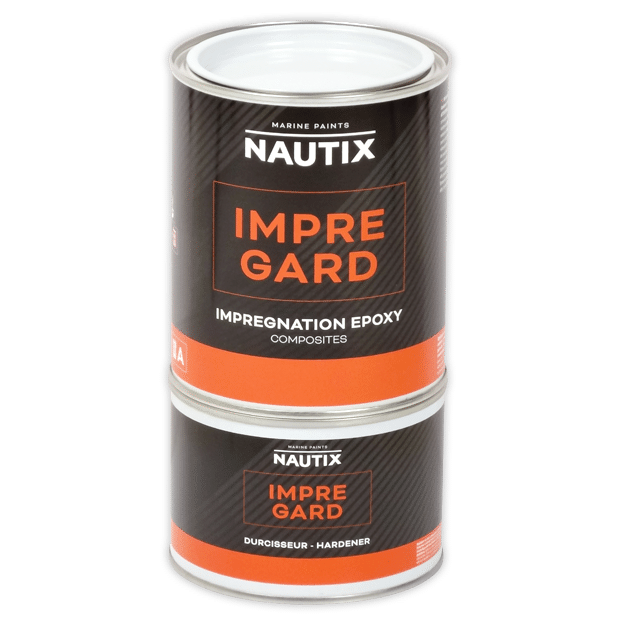
Apply two coats, paying particular attention to areas of high porosity.
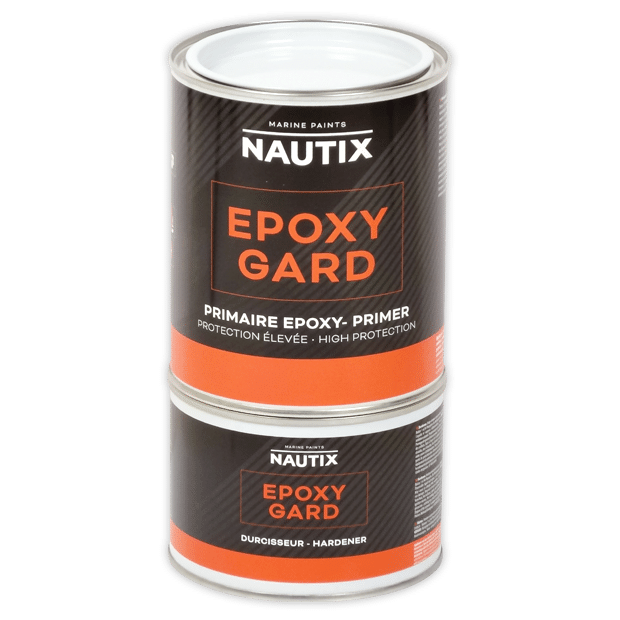
Step 3 | PrimerEPOXYGARDApply one coat to reinforce the adhesion of the antifouling.
Apply 3 to 5 coats for optimum hull protection.
It is not necessary to sand between coats. Do not allow the last coat to dry too quickly.Step 4 | AntifoulingPEApply one coat for fine wedging.
Polish with P180 before applying the finish. - Single-pack
- Two-pack
- Difficult weather conditions
- Step 1 | PreparationSD
Wash the surface with water, then with SD Degreaser.
Remove old paint and roughen with P80
Rinse with fresh water and allow to dry thoroughlyStep 2 | ImpregnationIAMix well.
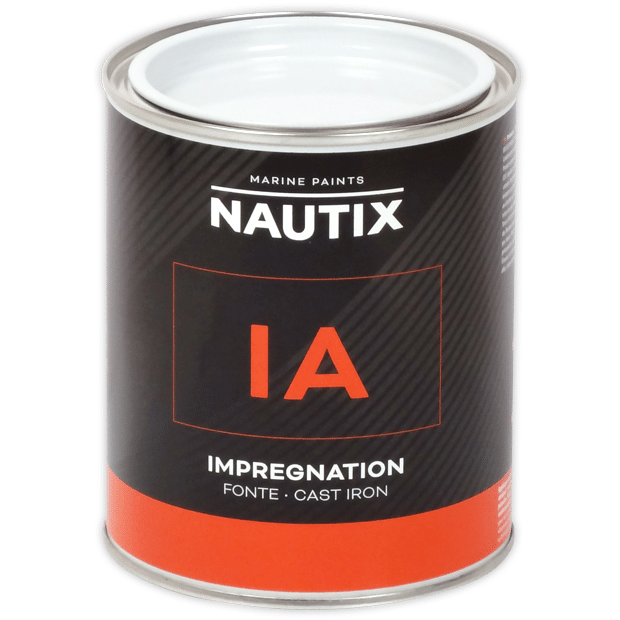
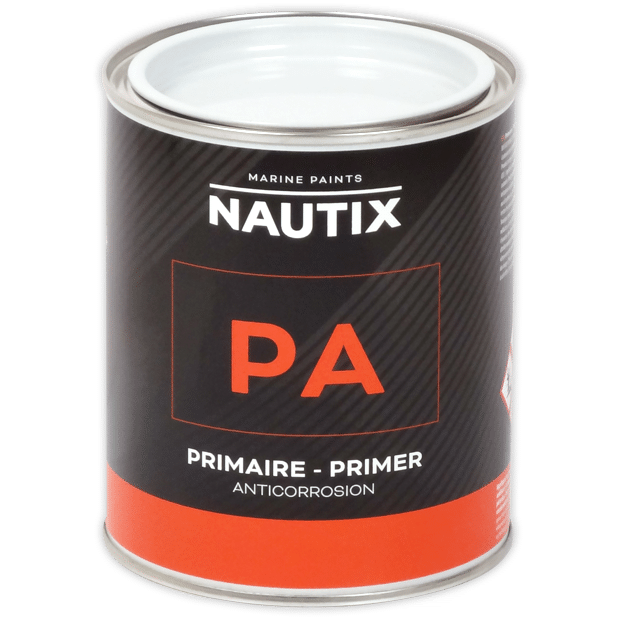
Apply a thin coat of “pore filler” impregnation for cast iron.Step 3 | Anti-corrosion primerPAMix well to obtain a homogeneous product.
Apply a minimum of 3-4 coats of anti-corrosion primer.
Allow to dry for the time indicated on the technical data sheet.
This primer can be applied at temperatures close to 0°C. - Single-pack
- Two-pack
- Step 1 | PreparationSD
Wash the surface with water, then with SD Degreaser.
Remove old paint and roughen with P80
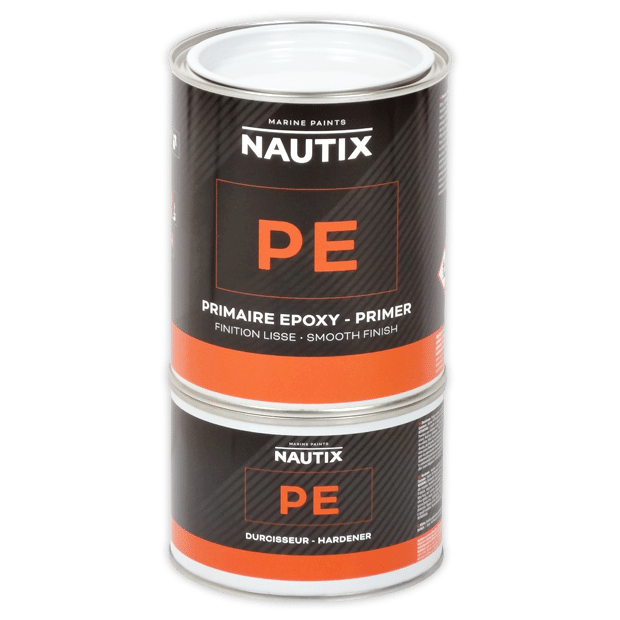
Rinse with fresh water and allow to dry thoroughlyStep 2 | PrimerPEMix base and hardener well until a homogeneous product is obtained.
Apply 3-4 coats of primer.
Allow to dry for the times indicated on the technical data sheet. - Step 1 | PreparationSD
Wash the surface with water, then with SD Degreaser.
Remove old paint and roughen with P120
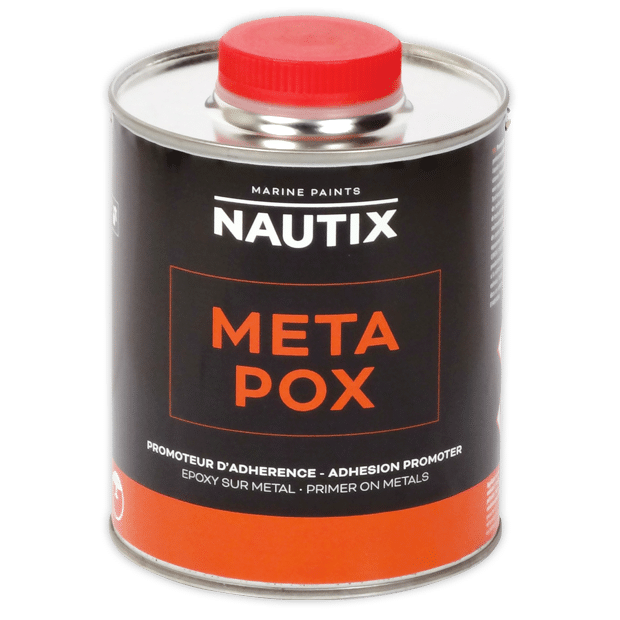
Rinse with fresh water and allow to dry thoroughlyStep 2 | Adhesion PromoterMETAPOXApply a coat of adhesion promoter to strengthen the bond between the epoxy primer and the metal.
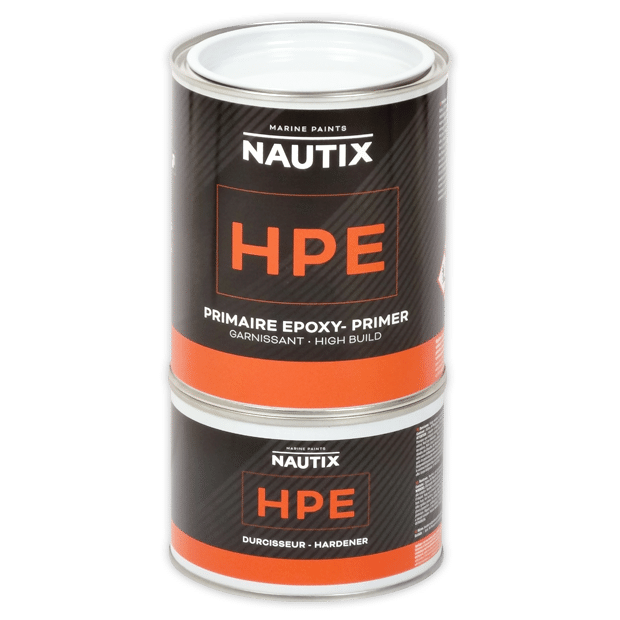
Step 3 | PrimerHPEMix base and hardener well until a homogeneous product is obtained.
Apply 3-4 coats of primer.
Allow to dry for the times indicated on the technical data sheet. - Single-pack
- Two-pack
- Single-pack
- Two-pack
- Single-pack | Natural wood
- Two-pack | Plywood
- Single-pack
- Two-pack
- Single-pack
- Two-pack
- Single-pack
- Two-pack
- Single-pack
- Two-pack
- Single-pack
- Two-pack
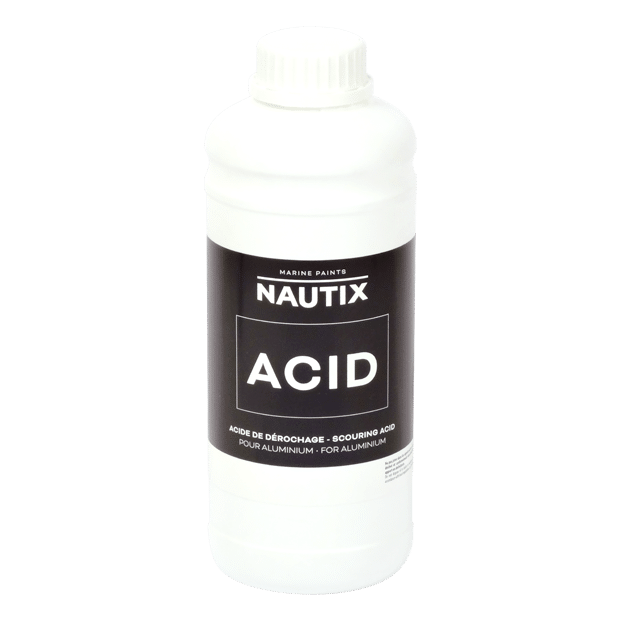
- Step 1 | PreparationSCOURING ACID
Wash the surface with water, then with SD Degreaser.
Preferably sand with 36/40 or sandblast your boat.
For hard-to-reach areas, you can use SCOURING ACID.
Rinse with fresh water and allow to dry thoroughly.Step 2 | Adhesion PromoterMETAPOXApply a thin coat to reinforce the bond between the epoxy undercoat and the metal
4My application process
- Step 1 | PreparationSD
Wash the surface with water, then with SD Degreaser.
Remove old paint and roughen with P120
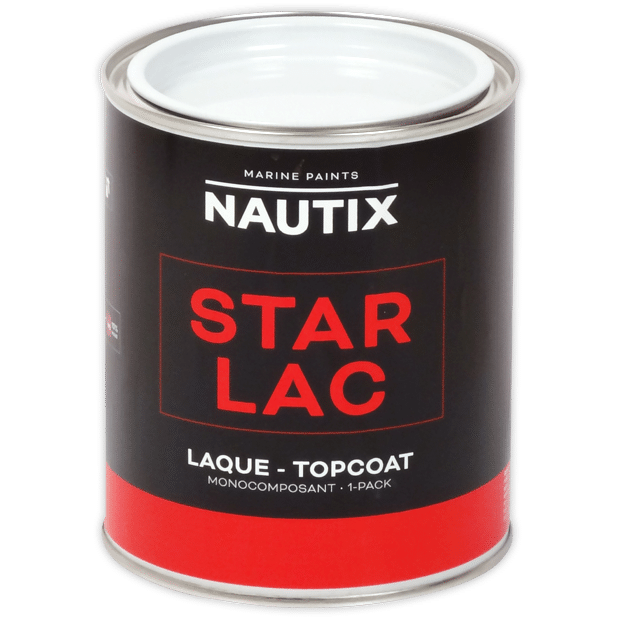
Rinse with fresh water and allow to dry thoroughlyStep 3 | TopcoatSTARLACApply two coats of topcoat.
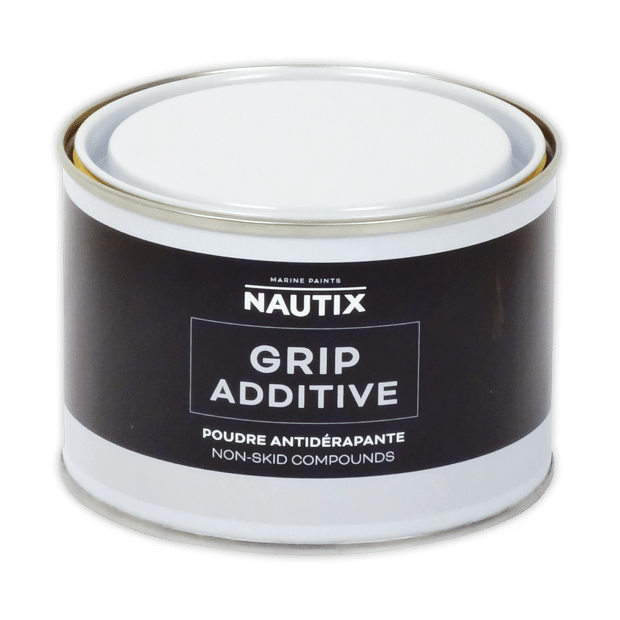
Mix the anti-slip compounds into the topcoat according to the quantities given in the technical data sheet.Step 3 BIS | Anti-slipGRIP ADDITIVEChoose the intensity of the anti-slip by selecting medium or hard compounds.
- Step 1 | PreparationSD
Wash the surface with water, then with SD Degreaser.
Remove old paint and roughen with P80
Rinse with fresh water and allow to dry thoroughly - Step 1 | PreparationSD
Wash the surface with water, then with SD Degreaser.
Remove old paint and roughen with P80
Rinse with fresh water and allow to dry thoroughly - Step 1 | PreparationSD
Wash the surface with water, then with SD Degreaser.
Remove old paint and roughen with P80
Rinse with fresh water and allow to dry thoroughly - Step 1 | PreparationSD
Wash the surface with water, then with SD Degreaser.
Remove old paint and roughen with P80
Rinse with fresh water and allow to dry thoroughly - Step 1 | PreparationSD
Wash the surface with water, then with SD Degreaser.
Remove old paint and roughen with P120 max.
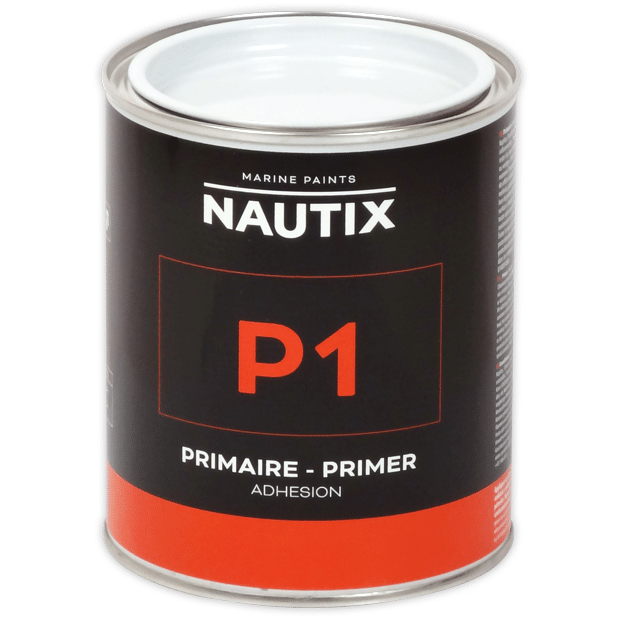
Rinse with fresh water and allow to dry thoroughlyStep 2 | PrimerP1Apply a coat to reinforce the adhesion of the antifouling.
Mix with a mixer until a homogeneous product is obtained.
Dilute with Nautix DP between 5 and 10% maximum.Apply 3 to 5 coats for optimum hull protection. Maximum wet film thickness 100μm
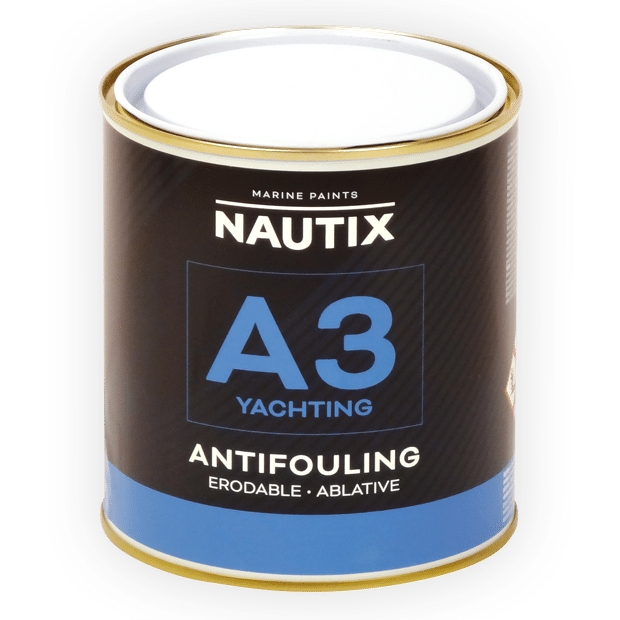
It is not necessary to sand between coats. Do not allow the last coat to dry too quickly.Step 3 OPTION 1 | Ablative antifoulingA3 YACHTINGApply two coats of antifouling
– With a roller: use a good quality antifouling roller. Dilute to a maximum of 5% with Nautix DA.
– Mixed air spray gun: 1.6 to 1.8 mm nozzle – Pressure: 2 to 2.5 bars. Dilute between 10 and 20% (Nautix DA) depending on temperature and nozzle.
– Airless: Nozzle 415 to 419 – Pressure: 170 to 240 bar. Do not dilute.To ensure that the antifouling is effective over a season, make sure the dry film is at least 100 μm thick. Depending on dilution, apply in 2 or 3 passes (on wet).
- Step 1 | PreparationSD
Wash the surface and degrease with Nautix SD
Remove old paint and roughen with P120 max.
Rinse with fresh water and allow to dry thoroughlyStep 2 | Primer to protectHPEHomogenise the base and hardener separately before mixing.
Apply one coat (120-150µm wet) for adhesion.
Apply 3 to 5 coats for optimum hull protection.
Allow the last coat to dry and sand with P120.
Rinse with fresh water and allow to dry thoroughly.Step 3 OPTION 1 | Ablative antifoulingA3 YACHTINGApply two coats of antifouling.
– With a roller: use a good quality antifouling roller. Dilute to a maximum of 5% with Nautix DA.
– Mixed air spray gun: 1.6 to 1.8 mm nozzle – Pressure: 2 to 2.5 bars. Dilute between 10 and 20% (Nautix DA) depending on temperature and nozzle.
– Airless: Nozzle 415 to 419 – Pressure: 170 to 240 bar. Do not dilute.To ensure that the antifouling is effective over a season, make sure the dry film is at least 100 μm thick. Depending on dilution, apply in 2 or 3 passes (on wet).
- Step 1 | PreparationSD
Wash the surface with water, then with SD Degreaser.
Remove old paint and roughen with P120 max.
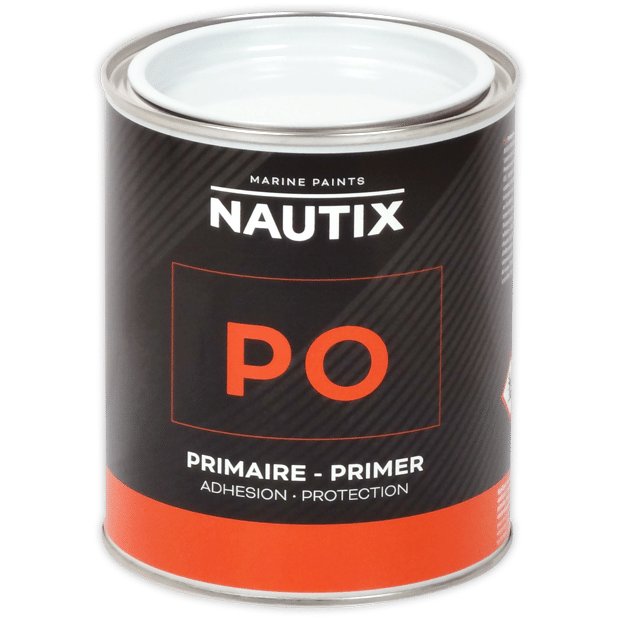
Rinse with fresh water and allow to dry thoroughlyStep 2 | PrimerPOPO is particularly suited to difficult climatic conditions: cold and damp. It is easy to apply, dries quickly and does not require sanding between 2 coats.
Mix with a mixer until a homogeneous product is obtained.
– Dilute with Nautix DP between 5 and 10% maximum.
– Apply 3 to 5 coats for optimum protection
– Successive coats: Allow to dry thoroughly between coats.
Recommended wet film thickness 100μm, no need to sand between coats.
– Allow the last coat to dry thoroughly.Step 3 OPTION 1 | Ablative antifoulingA3 YACHTINGApply two coats of antifouling
– With a roller: use a good quality antifouling roller. Dilute to a maximum of 5% with Nautix DA.
– Mixed air spray gun: 1.6 to 1.8 mm nozzle – Pressure: 2 to 2.5 bars. Dilute between 10 and 20% (Nautix DA) depending on temperature and nozzle – Airless: Nozzle 415 to 419 – Pressure: 170 to 240 bar. Do not dilute.To ensure that the antifouling is effective over the season, make sure the dry film is at least 100 μm thick. Depending on dilution, apply in 2 or 3 passes (on wet).
- Step 1 | PreparationSD
Wash the surface with water, then with SD Degreaser.
Remove old paint and roughen with P120 max.
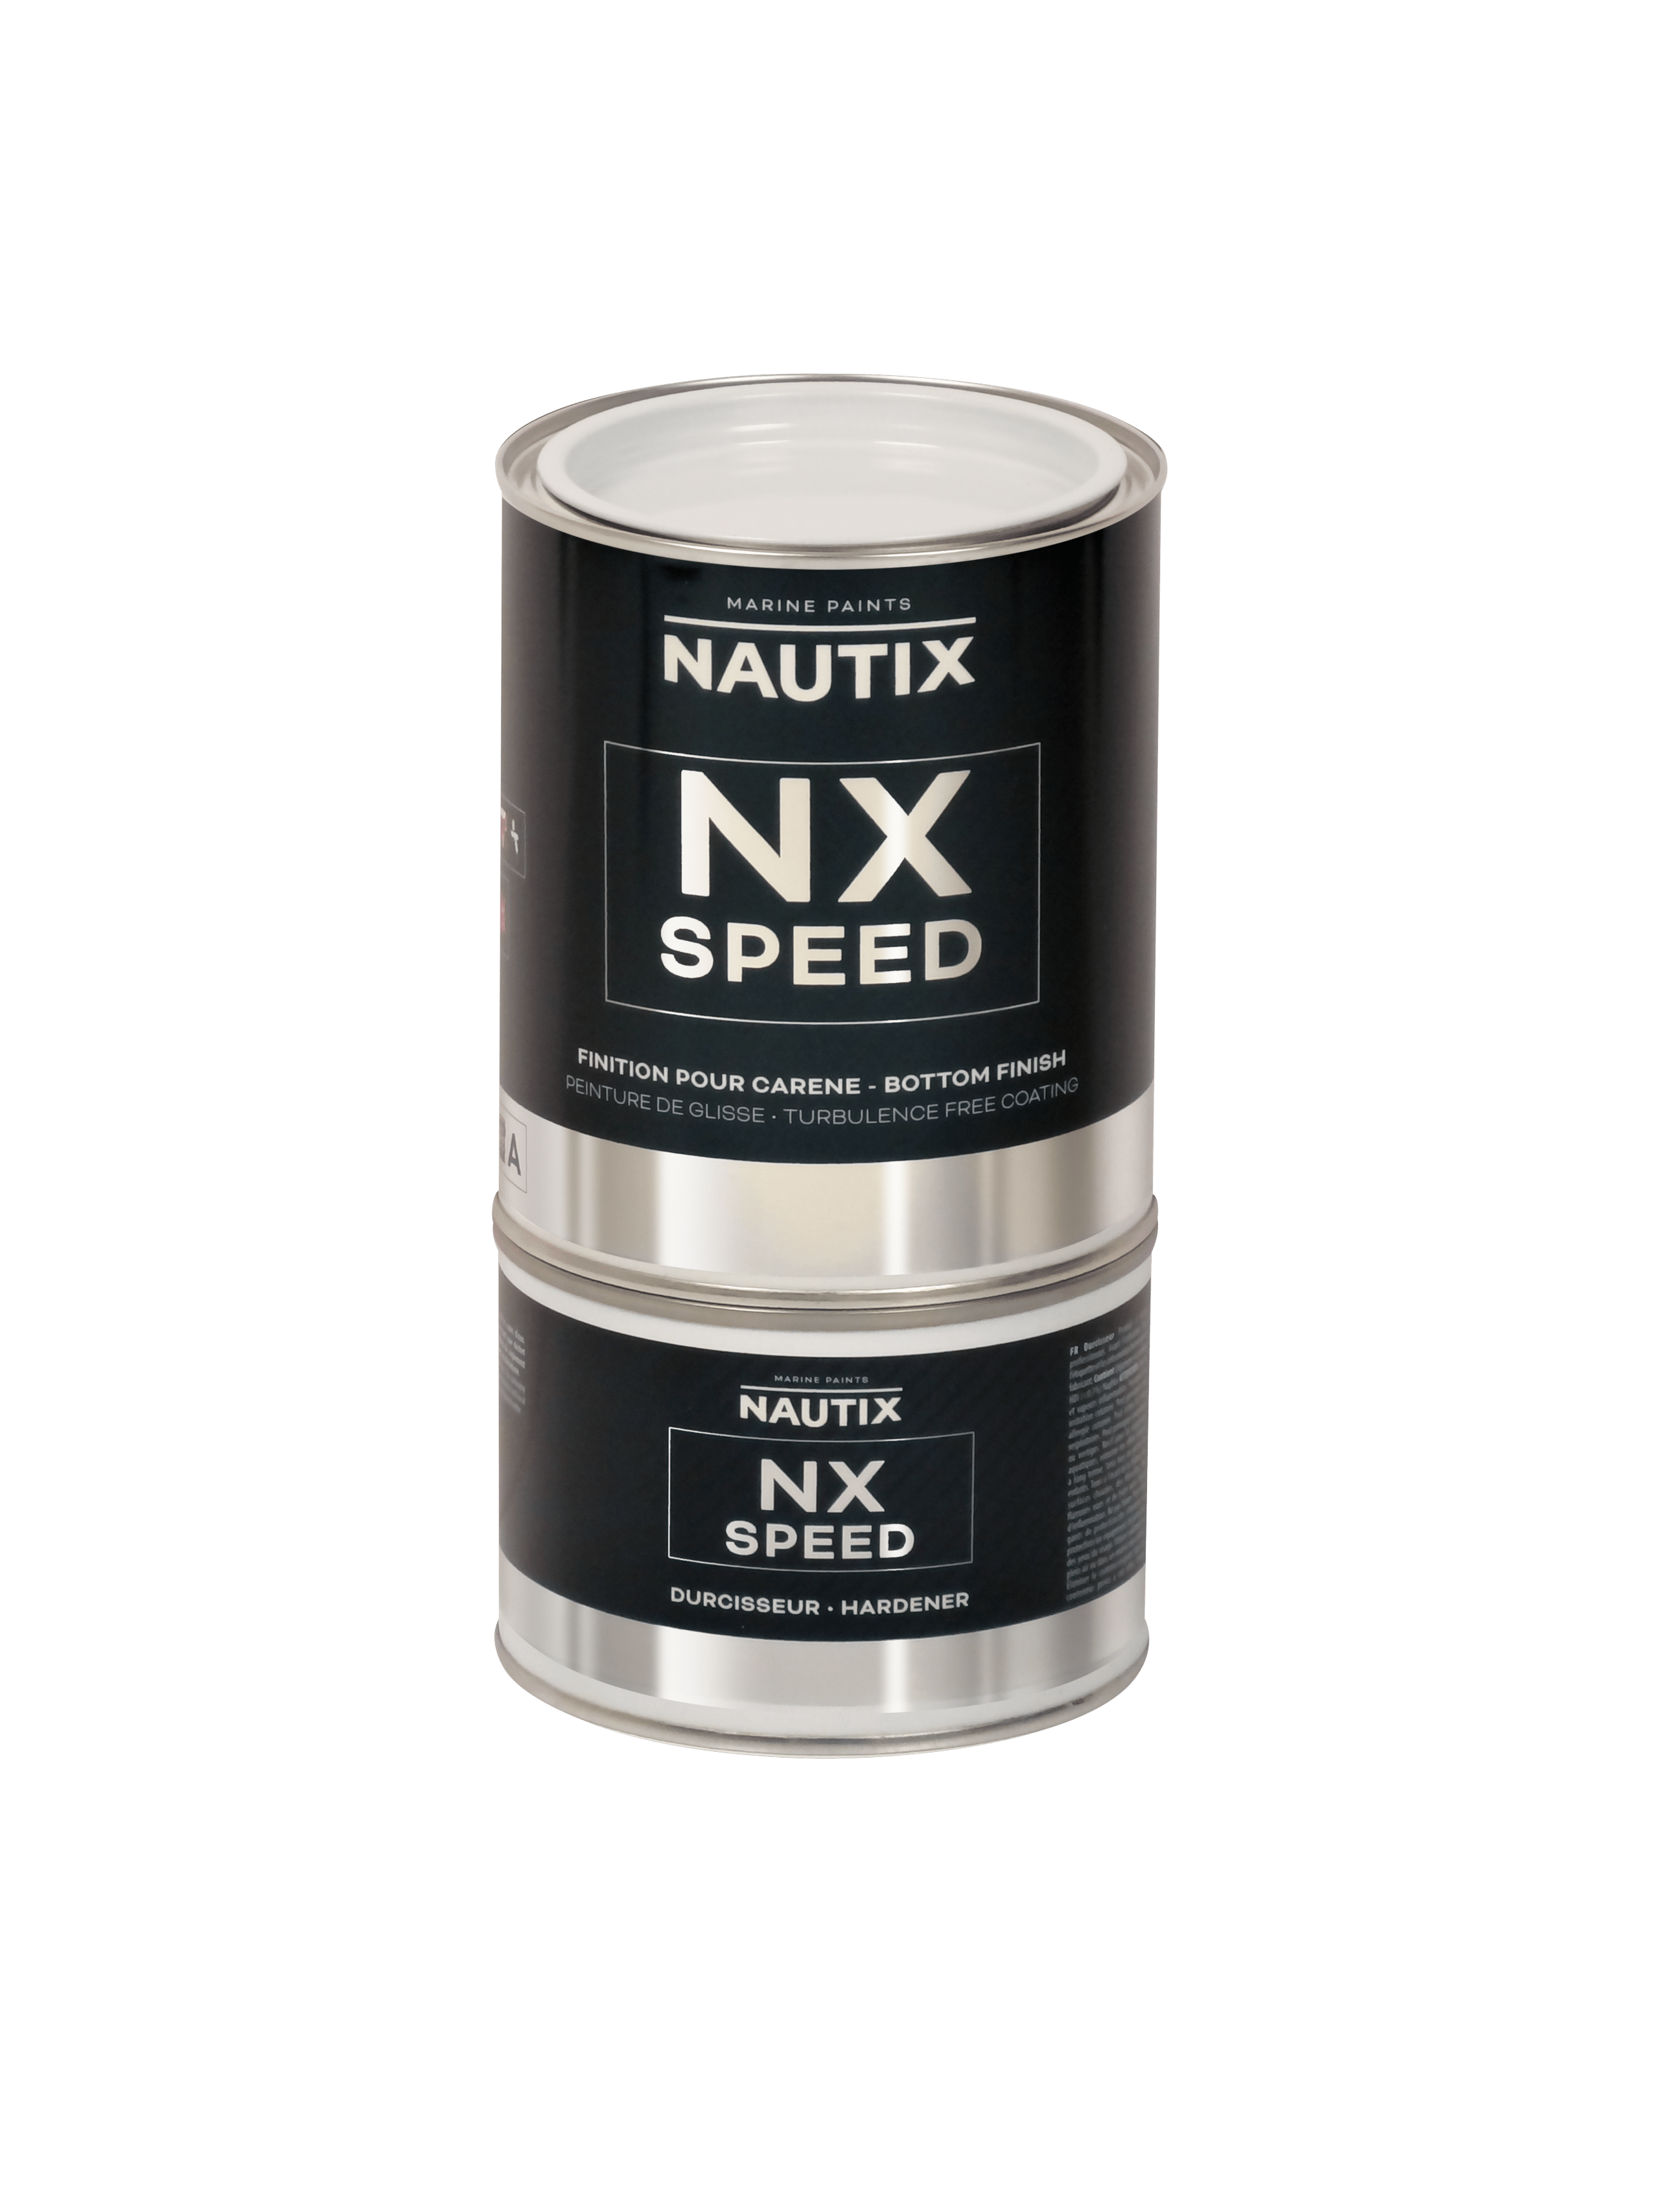
Rinse with fresh water and allow to dry thoroughlyStep 2 | Ultra-glide primerPEMix with a mixer until a homogeneous product is obtained.
– Dilute with Nautix DE up to a maximum of 10%.
– Mix the base thoroughly before adding the hardener. Mix only as much as you need. Allow the mixture to stand for 10 minutes before application.
-Apply 2 coats of primer. Apply several thin coats to increase the effectiveness of the protection. Recoat within the recommended time or remove with P120 once dry.
– Roller, spray (2.0 to 2.5 bar, nozzle 1.8mm to 2.0mm) or airless (170 to 240 bar, nozzle 419 to 525) application.
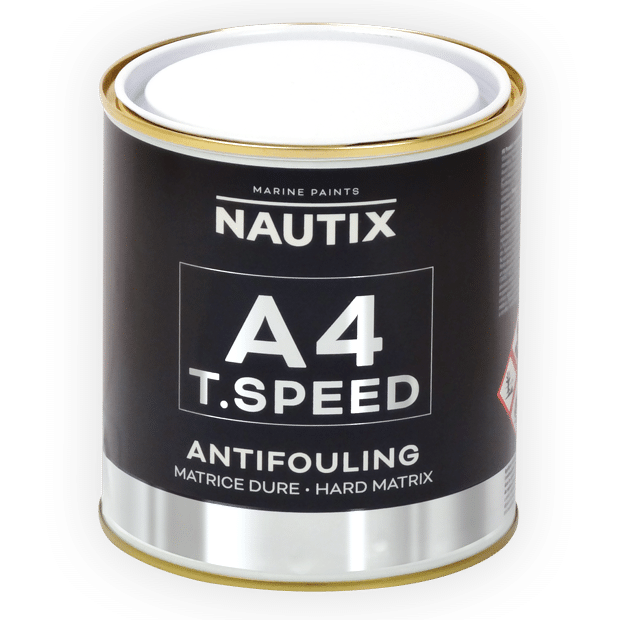
– Allow the last coat to dry thoroughlyStep 3 | Special race antifoulingA4 T.SPEEDApplying two coats of antifouling
– With a roller: use a good quality antifouling roller. Dilute to a maximum of 5% with Nautix DA.
– Mixed air spray gun: 1.6 to 1.8 mm nozzle – Pressure: 2 to 2.5 bars. Dilute between 10 and 20% (Nautix DA).
– Airless: Nozzle 415 to 419 – Pressure: 170 to 240 bar. Do not dilute.After applying the antifouling, lightly sand the surface with P400 or P600 water-based abrasive paper (depending on the initial roughness of the surface), then wet sand again with P800 or P1000. This optional step will eliminate minor surface imperfections and optimise the flow of water along the hull.
- Step 1 | PreparationSD
Wash the surface with water, then with SD Degreaser.
Remove old paint and roughen with P120 max.
Rinse with fresh water and allow to dry thoroughlyStep 2 | Adhesion primerP1Apply a coat to reinforce the adhesion of the antifouling.
Allow to dry thoroughly.Mix with a mixer until a homogeneous product is obtained.
– Dilute with Nautix DP between 5 and 10% maximum.
– Apply a thin coat for adhesion
– Spray application (2.0 to 2.5 bar, nozzle 1.8mm to 2.0mm)
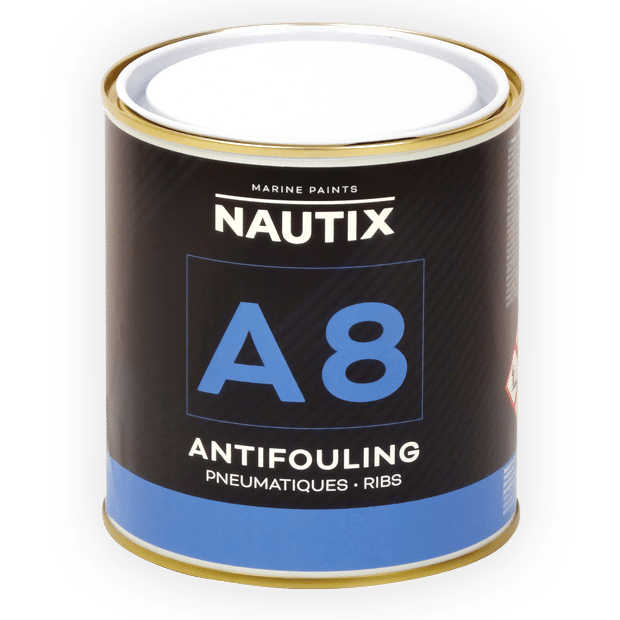
– Airless application (170 to 240 bar, 315 to 419 nozzle), double the drying time.Step 3 | Hard matrix antifoulingA8Apply two coats of inflatable boat-specific antifouling.
– With a roller: use a good quality antifouling roller. Dilute to a maximum of 5% with Nautix DA.
– Mixed air spray gun: 1.6 to 1.8 mm nozzle – Pressure: 2 to 2.5 bars. Dilute between 10 and 20% (Nautix DA) depending on temperature and nozzle.To ensure that the antifouling is effective over a season, make sure the dry film is at least 100 μm thick. Depending on the dilution, apply in 2 or 3 passes (on wet).
- Step 1 | PreparationSD
Peel the hull by planing or sandblasting
Carry out rinsing cycles (ideally with distilled water or cold rainwater), followed by repeated drying until all traces of salt and soluble residues have been completely eliminated.
Implement natural drying (aeration) or forced drying (ventilation) depending on the season and locationMap out ‘zones of identical thickness’ above and below the waterline to measure and compare changes in humidity levels on a regular basis.
To start remedial work, the humidity level of the hull must not be more than
5% higher than above the waterline (Tramex 2 to 10 /scale1)Step 2 | ImpregnationIMPREGARDApply a greasy coat with a brush or hard-haired roller.
– Coverage on planed surface: 12m²/kg
– Coverage on sanded surface: 8m²/kgMake sure the resin penetrates all the crevices in the surface.
Concentrate on the most porous and/or damaged areas.
Do not hesitate to repeat the impregnation if the composite absorbs the product. Impregnate until saturation.Step 3 | InsulationIMPREGARDAfter hardening, sand the entire surface with 80-grit sandpaper to remove any fibres protruding from the surface.
Apply a 2nd coat of Impregard using a roller or airless.
This is essential to avoid any risk of moisture penetrating by capillary action.
– Closes any remaining pores
– Encloses the fibre in a uniform envelope of resin
– Recommended thickness: 120μm wet, per coatMake sure there are no glass fibres left on the surface before continuing the cycle.
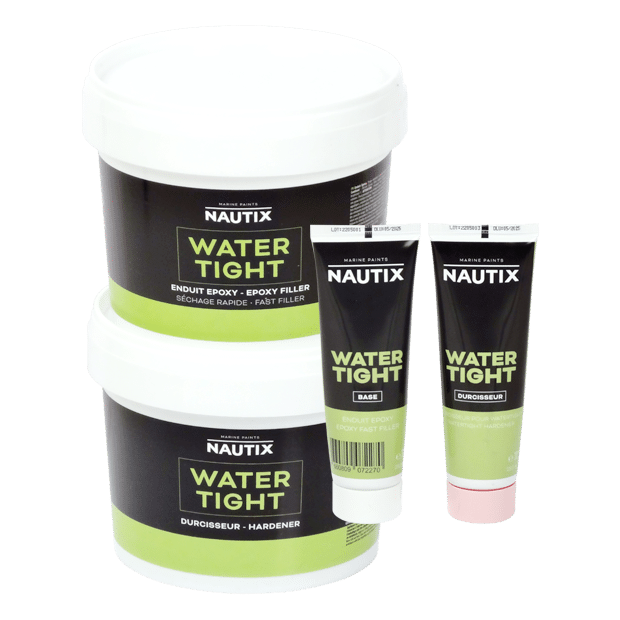
Step 5 | ShapingWATERTIGHTApply epoxy fillers according to the extent of the defects (1/1 mixture by weight and volume).
SandStep 6 | Protection & FinishingEPOXYGARDAfter hardening, sand the entire surface with 80-grit sandpaper to remove any fibres protruding from the surface.
Apply between 4-6 coats of EPOXYGARD (130µm maximum).
Allow the solvents to evaporate well between coats.
Apply 2 coats of Nautix antifouling. - Step 1 | PreparationSCOURING ACID
Wash the surface with water, then with SD Degreaser.
Preferably sand with 36/40 or sandblast your boat.
For hard-to-reach areas, you can use SCOURING ACID.
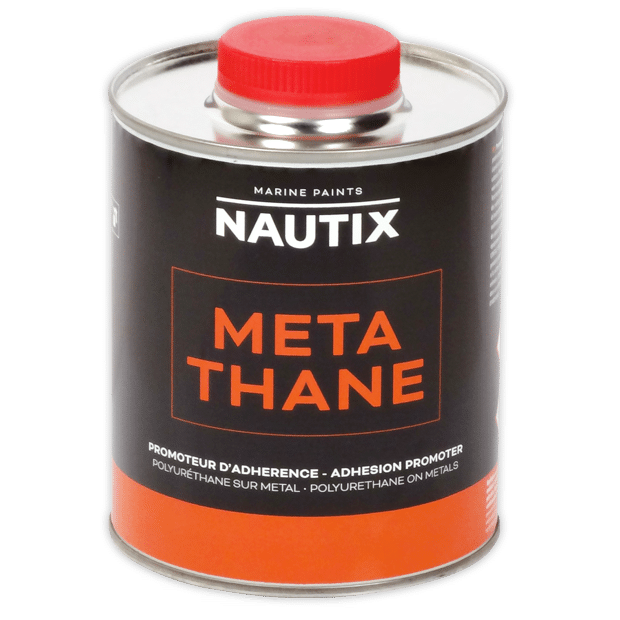
Rinse with fresh water and allow to dry thoroughly.Step 2 | Adhesion promoterMETATHANEThis innovative product improves adhesion between a polyurethane (PA) primer and aluminium or stainless steel.
Apply METATHANE as soon as possible (4 hours maximum) after deoxidising and cleaning the surface.
– Do not dilute
– Application of one coat
– Wet the surface evenly, apply without excess.Step 3 | PrimerPAApply 3 to 5 coats for optimum hull protection.
Applied in multiple coats, this primer protects metal parts against corrosion in a marine environment.
– Roller: Dilute to a maximum of 10% with Nautix DP.
– Mixed air spray gun: 1.6 to 2.0 mm nozzle – Pressure: 2 to 2.5 bars. Dilute between 10 and 20% (Nautix DP) depending on temperature and nozzle.
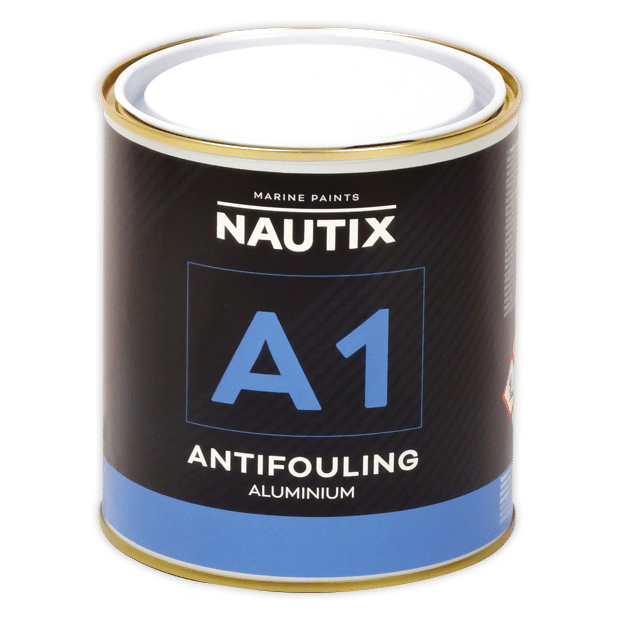
– Airless: Nozzle 419 to 525 – Pressure: 170 to 240 bar. Do not dilute.Step 4 | Aluminium AntifoulingA1Apply two coats of antifouling.
The effectiveness of an antifouling depends directly on the final thickness of the film.
Apply the entire recommended quantity, excluding dilution. Do not try to ‘pull’ the paint.– Using a roller: use a good quality antifouling roller. Dilute to a maximum of 5% with Nautix DA.
– Mixed air spray gun: 1.6 to 1.8 mm nozzle – Pressure: 2 to 2.5 bar. Dilute between 10 and 20% (Nautix DA) depending on temperature and nozzle.
– Airless: Nozzle 415 to 419 – Pressure: 170 to 240 bar. Do not dilute. - Step 1 | PreparationSCOURING ACID
Degrease the surface with SD
Remove all surface oxidation by mechanical stripping
Sandblast (medium to coarse grit). Alternatively, use zirconium oxide, corundum or ceramic fibre discs (40 to 60 grit for best results).
The resulting surface should be uniform, slightly dull and rough.
Do not leave any smooth or shiny areas.
Rinse with fresh water and allow to dry.
Paint immediately (within 1/2 day).If you have to wait longer after stripping (more than 24 hours), it is recommended that you deoxidise the surface with DEOXIDISING ACID.
Leave for 20 minutes and rinse thoroughly with fresh water before painting.Step 2 | Adhesion PromoterMETAPOXApply a coat of adhesion promoter.
Do not apply METAPOX if you are not sure of applying a first coat of epoxy later that day.
Brush, roller or spray application
Wet the surface evenly with a very thin coat
METAPOX is very liquid, do not try to apply thickly
Leave the METAPOX to react for at least 1 hour.
Insulate the surface with an epoxy primer as soon as the METAPOX is dry.Step 3 | PrimerEPOXYGARDApply 3 to 5 coats for optimum hull protection.
It is not necessary to sand between coats. Do not allow the last coat to dry too quickly.Step 4 | Aluminium AntifoulingA1Apply two coats of antifouling specifically for aluminium boats.
- Step 1 | PreparationSD
Wash the surface with water, then with SD Degreaser.
Remove old paint and roughen with P80.
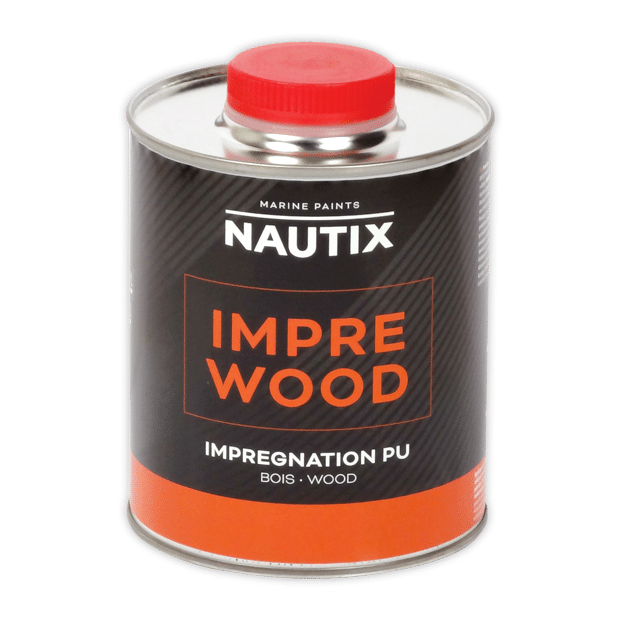
Rinse with fresh water and allow to dry thoroughlyStep 2 | ImpregnationIMPREWOODIMPREWOOD is a polyurethane impregnating resin for hardening wood and promoting the adhesion of primer and top coats.
-Apply several coats until saturation
– Read the product data sheet carefully before use.
Recoat before complete hardening. Otherwise remove with P120.Step 3 | PrimerP1Apply one coat to reinforce the adhesion of the antifouling.
Apply 3 to 5 coats for optimum hull protection.
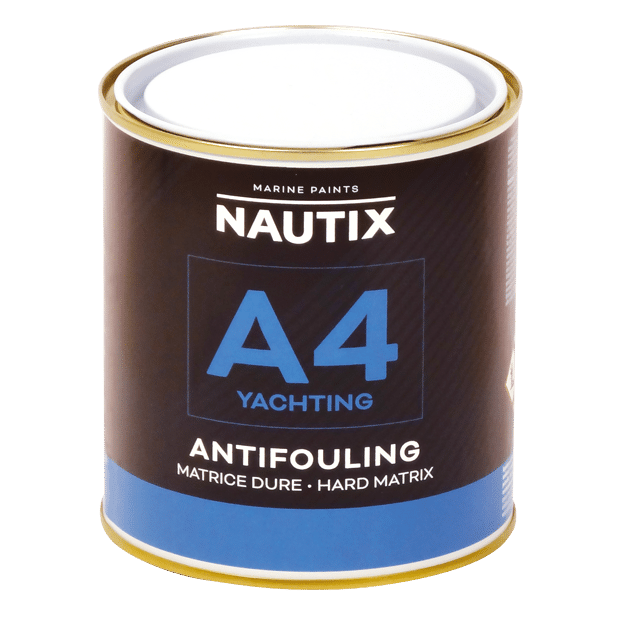
It is not necessary to sand between coats. Do not allow the last coat to dry too quickly.Step 4 OPTION 2 | Hard matrix antifoulingA4 YACHTINGApply two coats of antifouling.
– With a roller: use a good quality antifouling roller. Dilute to a maximum of 5% with Nautix DA.
– Mixed air spray gun: 1.6 to 1.8 mm nozzle – Pressure: 2 to 2.5 bars. Dilute between 10 and 20% (Nautix DA) depending on temperature and nozzle.
– Airless: Nozzle 415 to 419 – Pressure: 170 to 240 bar. Do not dilute.To ensure that the antifouling is effective over a season, make sure the dry film is at least 100 μm thick. Depending on dilution, apply in 2 or 3 passes (on wet).
- Step 1 | PreparationSD
Wash the surface with water, then with SD Degreaser.
Remove old paint and roughen with P80.
Rinse with fresh water and allow to dry thoroughlyStep 2 | ImpregnationIMPREGARD– Mix the base thoroughly before adding the hardener. Mix only as much as you need. Allow the mixture to stand for 10 minutes before applying.
-Apply several coats until saturated.
-Sand with 80 grit sandpaper between coatsStep 3 | PrimerEPOXYGARDApply 3 to 5 coats for optimum hull protection.
It is not necessary to sand between coats. Do not allow the last coat to dry too quickly.Step 4 OPTION 1 | Ablative antifoulingA3 YACHTINGApply two coats of antifouling
– With a roller: use a good quality antifouling roller. Dilute to a maximum of 5% with Nautix DA.
– Mixed air spray gun: 1.6 to 1.8 mm nozzle – Pressure: 2 to 2.5 bars. Dilute between 10 and 20% (Nautix DA) depending on temperature and nozzle.
– Airless: Nozzle 415 to 419 – Pressure: 170 to 240 bar. Do not dilute.To ensure that the antifouling is effective over a season, make sure the dry film is at least 100 μm thick. Depending on dilution, apply in 2 or 3 passes (on wet).
- Step 1 | PreparationSD
Wash the surface with water, then with SD Degreaser.
Sand, prick or grind.Step 3 | PrimerEPOXYGARDApply one coat to reinforce the adhesion of the antifouling.
Apply 3 to 5 coats for optimum hull protection.
It is not necessary to sand between coats. Do not allow the last coat to dry too quickly. - Step 1 | PreparationSD
Wash the surface with water, then with SD Degreaser.
Sand, prick or grind.Step 2 | PrimerPAApply one coat to reinforce the adhesion of the antifouling.
Apply 3 coats for optimum hull protection.
It is not necessary to sand between coats. Do not allow the last coat to dry too quickly. - Step 2 | ImpregnationIMPREGARD
Apply two coats, paying particular attention to areas of high porosity.
Step 3 | PrimerEPOXYGARDApply one coat to reinforce the adhesion of the antifouling.
Apply 3 to 5 coats for optimum hull protection.
It is not necessary to sand between coats. Do not allow the last coat to dry too quickly.Step 4 | AntifoulingPEApply one coat for fine wedging.
Polish with P180 before applying the finish. - Step 1 | PreparationSD
Wash the surface with water, then with SD Degreaser.
Remove old paint and roughen with P80
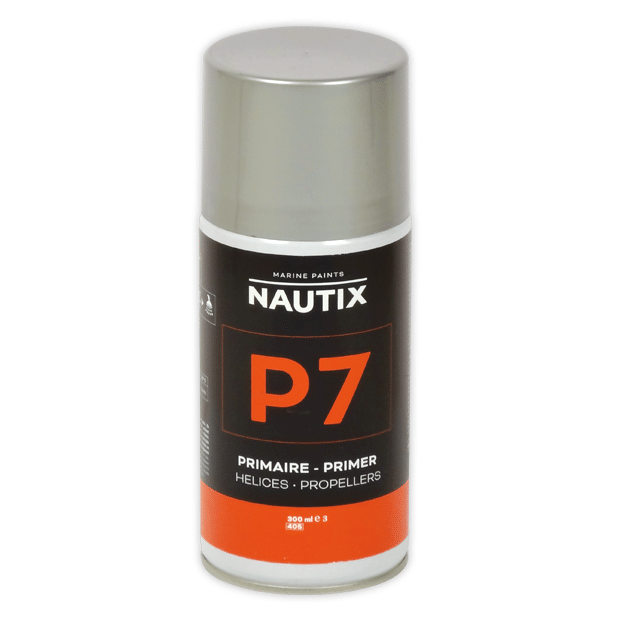
Rinse with fresh water and allow to dry thoroughlyStep 2 | PrimerP7Shake spray well before use.
Apply 2 coats of primer.
Allow to dry for the times indicated in the technical data sheet.
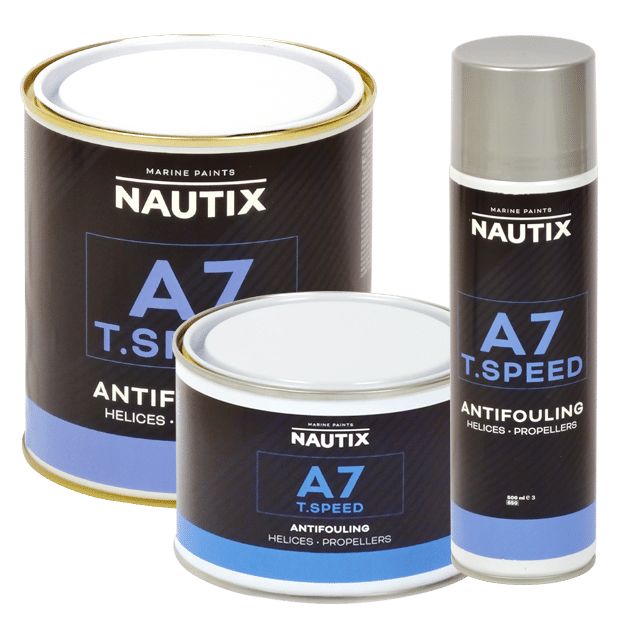
Approximately one spray per propeller.Step 3 | Propeller antifoulingA7 T.SPEEDShake well before and during use.
Apply a minimum of 2 coats. Approximately one full spray per propeller.
Leave to dry for the times indicated in the technical data sheet. - Step 1 | PreparationSD
Wash the surface with water, then with SD Degreaser.
Remove old paint and roughen with P80
Rinse with fresh water and allow to dry thoroughlyStep 2 | Adhesion PromoterMETAPOXApply a coat to reinforce the adhesion between the epoxy primer and the metal.
Step 3 | PrimerEPOXYGARDApply a minimum of 3 coats of epoxy primer to protect the propeller.
Step 4 | Propeller antifoulingA7 T.SPEEDShake well before and during use.
Apply a minimum of 2 coats. Approximately one full spray per propeller.
Leave to dry for the times indicated in the technical data sheet. - Step 1 | PreparationSD
Wash the surface with water, then with SD Degreaser.
Remove old paint and roughen with P80
Rinse with fresh water and allow to dry thoroughlyStep 2 | PrimerPAMix well to obtain a homogeneous product.
Apply a minimum of 2 coats of anti-corrosion primer.
Allow to dry for the time indicated on the technical data sheet.
This primer can be applied at temperatures close to 0°C.Step 3 | Propeller antifoulingA7 T.SPEEDShake well before and during use.
Apply a minimum of 2 coats. Approximately one full spray per propeller.
Leave to dry for the times indicated in the technical data sheet. - Step 1 | PreparationSD
Wash the surface with water, then with SD Degreaser.
Remove old paint and roughen with P80
Rinse with fresh water and allow to dry thoroughlyStep 2 | ImpregnationIAMix well.
Apply a thin coat of “pore filler” impregnation for cast iron.Step 3 | Anti-corrosion primerPAMix well to obtain a homogeneous product.
Apply a minimum of 3-4 coats of anti-corrosion primer.
Allow to dry for the time indicated on the technical data sheet.
This primer can be applied at temperatures close to 0°C. - Step 1 | PreparationSD
Wash the surface with water, then with SD Degreaser.
Remove old paint and roughen with P80
Rinse with fresh water and allow to dry thoroughlyStep 2 | PrimerPAMix well to obtain a homogeneous product.
Apply a minimum of 4 coats of anti-corrosion primer.
Allow to dry for the times indicated on the technical data sheet.
This primer can be applied at temperatures close to 0°C. - Step 1 | PreparationSD
Wash the surface with water, then with SD Degreaser.
Remove old paint and roughen with P80
Rinse with fresh water and allow to dry thoroughly - Step 1 | PreparationSD
Wash the surface with water, then with SD Degreaser.
Remove old paint and roughen with P120
Rinse with fresh water and allow to dry thoroughlyStep 2 | Adhesion PromoterMETAPOXApply a coat of adhesion promoter to strengthen the bond between the epoxy primer and the metal.
Step 3 | PrimerHPEMix base and hardener well until a homogeneous product is obtained.
Apply 3-4 coats of primer.
Allow to dry for the times indicated on the technical data sheet. - Step 1 | PreparationSD
Wash the surface with water, then with SD Degreaser.
Remove old paint and roughen with P120
Rinse with fresh water and allow to dry thoroughly - Step 1 | PreparationSD
Wash the surface with water, then with SD Degreaser.
Remove old paint and roughen with P120
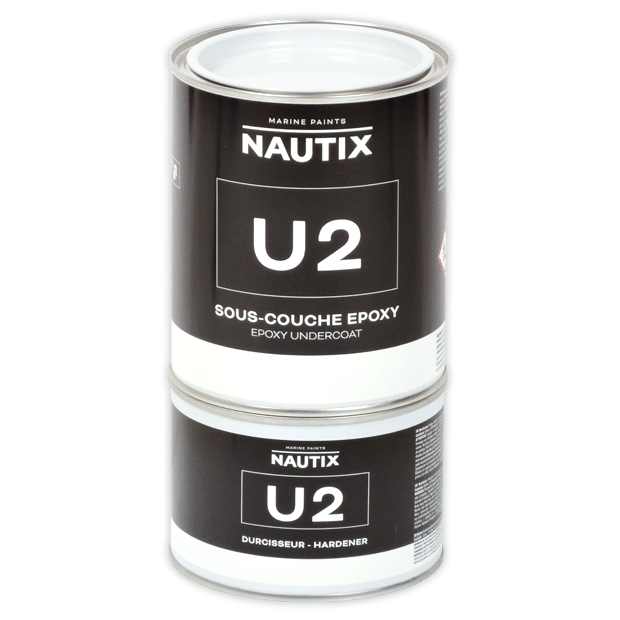
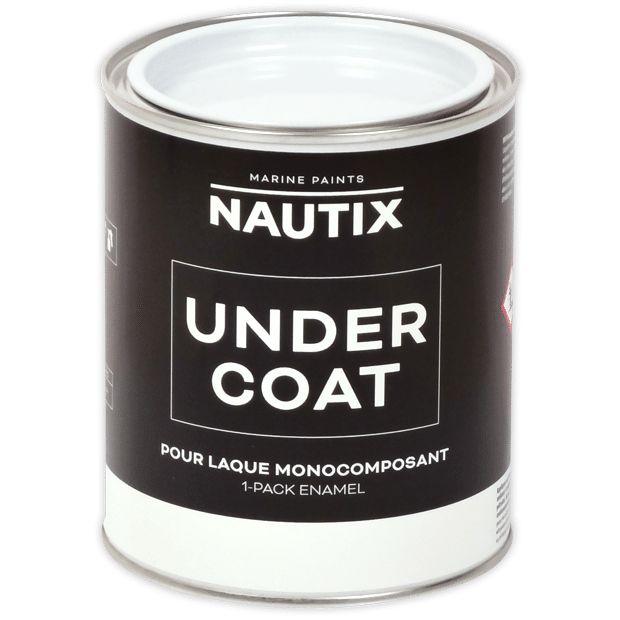
Rinse with fresh water and allow to dry thoroughlyStep 2 | UndercoatU2Mix the base and hardener well to obtain a homogeneous product.
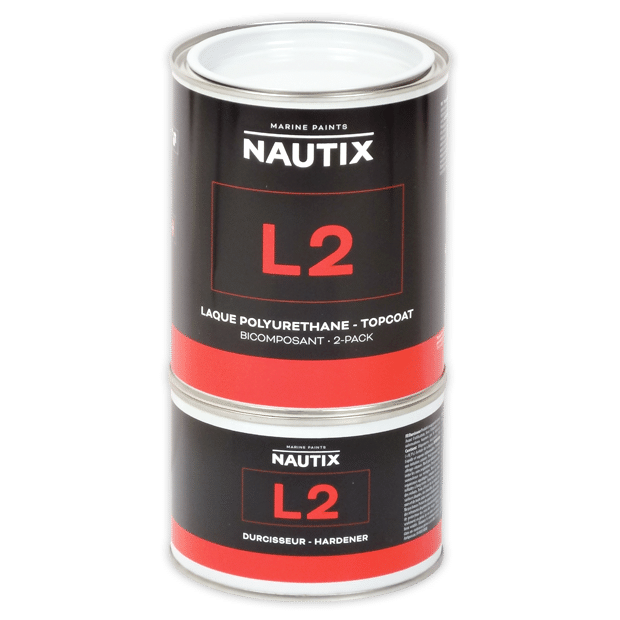
Apply one coat.Step 3 | TopcoatL2Mix base and hardener well to obtain a homogeneous product.
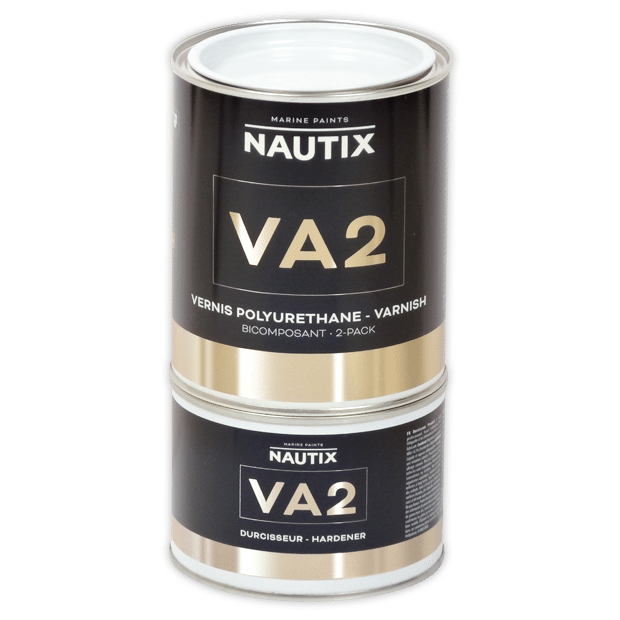
Apply two coats.Step 4 Optional | VarnishVA2Mix base and hardener well to obtain a homogeneous product.
Apply two coats. - Step 1 | PreparationSCOURING ACID
Wash the surface with water, then with SD Degreaser.
Preferably sand with 36/40 or sandblast your boat.
For hard-to-reach areas, you can use SCOURING ACID.
Rinse with fresh water and allow to dry thoroughly.Step 2 | Adhesion promoterMETATHANEApply one coat to reinforce the adhesion of the primer.
- Step 1 | PreparationSD
Wash the surface with water, then with SD Degreaser.
Remove old paint and roughen with P80
Rinse with fresh water and allow to dry thoroughly - Step 1 | Preparation
Wash the surface with water, then with SD Degreaser.
Preferably sand with 36/40 or sandblast your boat.
For hard-to-reach areas, you can use SCOURING ACID.
Rinse with fresh water and allow to dry thoroughly.Step 2 | Adhesion PromoterMETAPOXApply a coat to reinforce adhesion between epoxy primer and metal
- Step 1 | PreparationSD
Wash the surface with water, then with SD Degreaser.
Remove old paint and roughen with P80
Rinse with fresh water and allow to dry thoroughly - Step 1 | PreparationSD
Wash the surface with water, then with SD Degreaser.
Remove old paint and roughen with P120
Rinse with fresh water and allow to dry thoroughly - Step 1 | PreparationSD
Wash the surface with water, then with SD Degreaser.
Remove old paint and roughen with P120
Rinse with fresh water and allow to dry thoroughlyStep 2 | Adhesion PromoterMETAPOXApply a thin coat to reinforce adhesion between epoxy primer and metal
- Step 1 | PreparationSD
Wash the surface with water, then with SD Degreaser.
Remove old paint and roughen with P120
Rinse with fresh water and allow to dry thoroughlyStep 3 | TopcoatL2Apply two coats of topcoat.
Mix the anti-slip compounds into the topcoat according to the quantities given in the technical data sheet.Step 3 BIS | Anti-slipGRIP ADDITIVEChoose the intensity of the anti-slip by selecting medium or hard compounds.
- Step 1 | PreparationSCOURING ACID
Wash the surface with water, then with SD Degreaser.
Preferably sand with 36/40 or sandblast your boat.
For hard-to-reach areas, you can use SCOURING ACID.
Rinse with fresh water and allow to dry thoroughly.Step 2 | Adhesion promoterMETATHANEApply one coat to reinforce the adhesion of the primer.
Step 5 | TopcoatSTARLACApply two coats of topcoat.
Mix the anti-slip compounds into the topcoat according to the quantities given in the technical data sheet.Step 5 BIS | Anti-slipGRIP ADDITIVEChoose the intensity of the anti-slip by selecting medium or hard beads.
- Step 1 | PreparationSD
Wash the surface with water, then with SD Degreaser.
Remove old paint and roughen with P80
Rinse with fresh water and allow to dry thoroughlyStep 4 | TopcoatSTARLACApply two coats of topcoat.
Mix the anti-slip compounds into the topcoat according to the quantities given in the technical data sheet.Step 4 BIS | Anti-slipGRIP ADDITIVEChoose the intensity of the anti-slip by selecting medium or hard compounds.
- Step 1 | PreparationSCOURING ACID
Wash the surface with water, then with SD Degreaser.
Preferably sand with 36/40 or sandblast your boat.
For hard-to-reach areas, you can use SCOURING ACID.
Rinse with fresh water and allow to dry thoroughly.Step 2 | Adhesion PromoterMETAPOXApply a thin coat to reinforce the bond between the epoxy primer and the metal
Step 5 | TopcoatL2Apply two coats of topcoat.
Mix the anti-slip compounds into the topcoat according to the quantities given in the technical data sheet.Step 5 BIS | Anti-slipGRIP ADDITIVEChoose the intensity of the anti-slip by selecting medium or hard compounds.
- Step 1 | PreparationSD
Wash the surface with water, then with SD Degreaser.
Remove old paint and roughen with P80
Rinse with fresh water and allow to dry thoroughlyStep 5 | TopcoatL2Apply two coats of topcoat.
Mix the anti-slip compounds into the topcoat according to the quantities given in the technical data sheet.Step 5 BIS | Anti-slipGRIP ADDITIVEChoose the intensity of the anti-slip by selecting medium or hard compounds.
- Step 1 | PreparationSD
Wash the surface with water, then with SD Degreaser.
Remove old paint and roughen with P120
Rinse with fresh water and allow to dry thoroughlyStep 5 | TopcoatSTARLACApply two coats of topcoat.
Mix the anti-slip compounds into the topcoat according to the quantities given in the technical data sheet.Step 5 BIS | Anti-slipGRIP ADDITIVEChoose the intensity of the anti-slip by selecting medium or hard compounds.
- Step 1 | PreparationSD
Wash the surface with water, then with SD Degreaser.
Remove old paint and roughen with P120
Rinse with fresh water and allow to dry thoroughlyStep 2 | Adhesion PromoterMETAPOXApply a thin coat to reinforce adhesion between epoxy primer and metal
Step 5 | TopcoatL2Apply two coats of topcoat.
Mix the anti-slip compounds into the topcoat according to the quantities given in the technical data sheet.Step 5 BIS | Anti-slipGRIP ADDITIVEChoose the intensity of the anti-slip by selecting medium or hard compounds.

